PC light-diffusion grille for lawn mower tail lights, molded with a ribbed outer face on a constant pitch through the curve, a seal flange and fixing bosses formed in the same shot, then light-checked against a retained sample before packing.
Light-diffusion PC grade on an even wall, so the LED reads as one soft band instead of a hot core with a halo.
Ribbed outer face held on a constant pitch through the curve, vented at the last point of fill so no burn mark lands in the lit zone.
A tail light grille looks like a cosmetic cover until you stand behind a mower at dusk and see what the light actually does. The grille is the last thing between the LED and the grass: it has to spread the light into an even band instead of a hot dot, it has to keep water, dust and clippings away from the board behind it, and it has to take a stone thrown up by the blade without cracking or going cloudy.
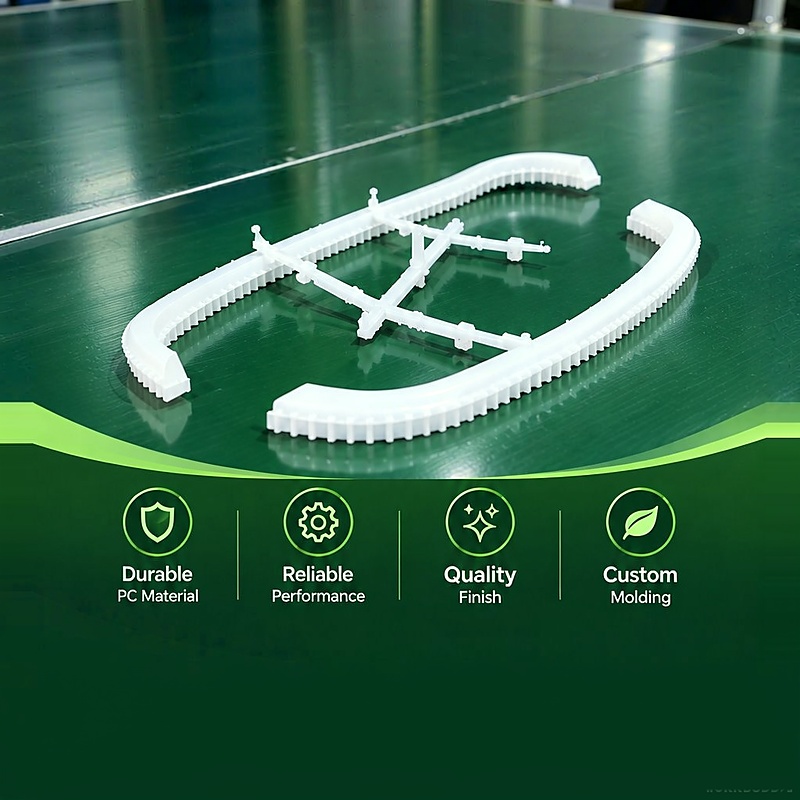
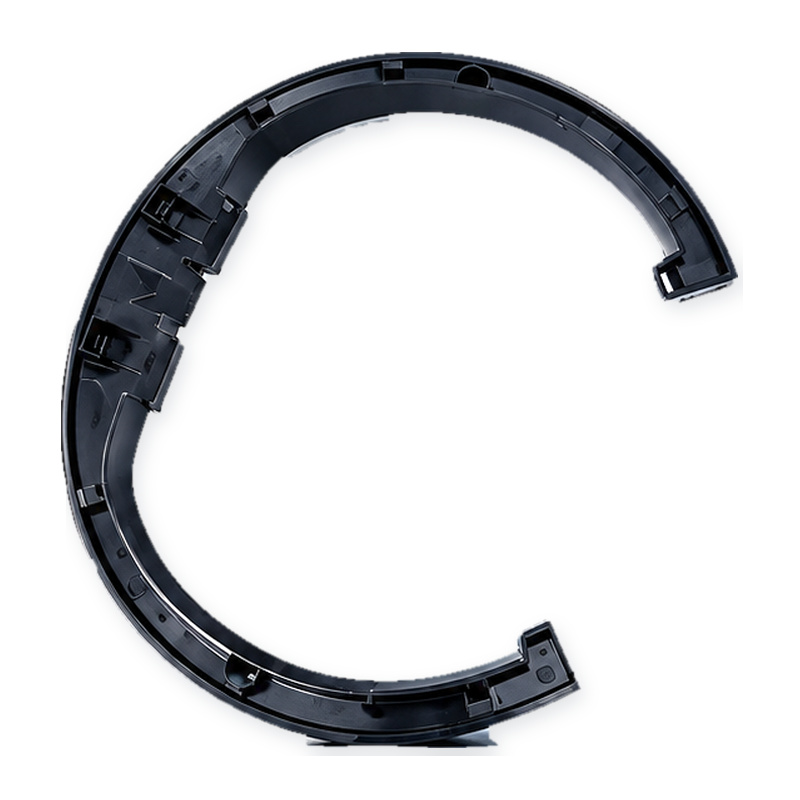
This page is about the part in the photos — a curved PC light-diffusion grille with a ribbed outer face, molded in one shot with the fixing details formed by the tool. The material is a light-diffusion grade of polycarbonate, not clear PC and not ordinary white ABS, and most of the engineering sits in three places: an even wall so the light does not band, a rib pattern that controls how the light leaves the surface, and a tool polished well enough that the lit face shows no tool marks at all.
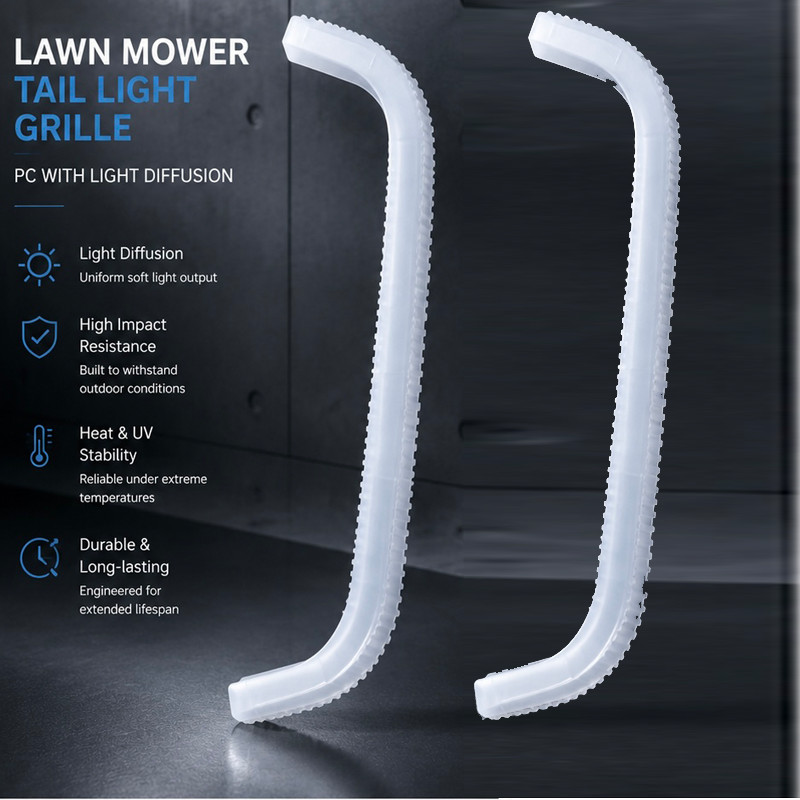
The grille as it leaves the press: a PC light-diffusion wall on a curved ribbed section, with the four properties that decide whether the part is accepted.
What the Grille Actually Has to Do
Three jobs, and they pull against each other. Diffuse — the light from a small LED has to leave the grille as one soft, even band, with no bright core and no dark ends. Protect — the wall has to sit in front of the lens and the board as a physical barrier, which means the fixing points must pull it down flat against a gasket or a seal lip, not just hold it near the housing. Survive — mowers work in wet grass, in sun, with the deck vibrating for hours, and the grille is the part that takes the hit first when something is thrown up.
The tension is easy to see once you have a bad sample in your hand. A wall thick enough to be stiff diffuses unevenly and shows a bright core. A wall thin enough to diffuse beautifully goes floppy, warps after demolding and leaks at the seal. A heavily textured face hides flow marks but kills light output. Every decision on this part — grade, wall, rib pitch, texture, gate position — is a trade between those three jobs, and the drawing has to settle it before the tool is cut.
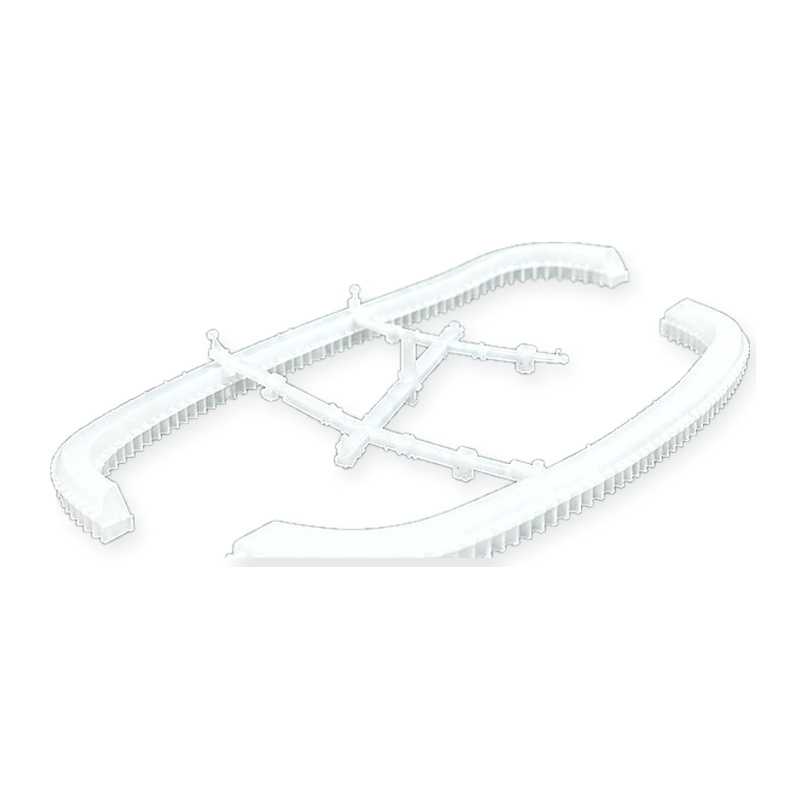
A set from one shot: the grille halves, the light guide frame and the small fixing details, all molded in the same tool.
Why PC, and Why the Diffusion Grade Matters
Polycarbonate is chosen here for the same reason it is used on exterior lenses elsewhere: it survives impact that would shatter acrylic, it holds its shape in the heat behind an LED, and it keeps its colour outdoors once it is UV stabilized. On a mower the impact argument is the decisive one — a stone off the blade arrives with more energy than a supermarket trolley bump, and the grille is the first plastic in the way.
The word that matters on the purchase order is diffusion. A standard clear PC grade transmits light with almost no scattering, so the grille would simply show the LED as a bright point with a halo around it. A diffusion grade carries a small percentage of light-scattering particles through the resin, so the light is spread inside the wall before it leaves. Two things follow from that, and both of them are process issues rather than design issues:
Diffusion depends on wall thickness. Thicker wall scatters more and the part goes dim; thinner wall scatters less and the LED core comes back. On a curved part with a varying section, that means the wall has to be held to a tight band, not just “about right”.
Diffusion hides nothing. Scattering particles also scatter the light along flow marks, weld lines and polish marks, so a face that looks acceptable in reflected light can look streaked the moment the LED is switched on.
That second point is why the tool finish on this part is agreed with the customer and written into the drawing. A polished cavity gives the highest light output and the least diffusion at the surface; a fine EDM or bead-blast finish adds surface diffusion and softens the band, at the cost of a few percent of output. Both are legitimate — but the decision has to be made before the cavity block is finished, because a polished face cannot be turned back into a textured one without re-cutting it.
The Rib Pattern Decides How the Light Leaves
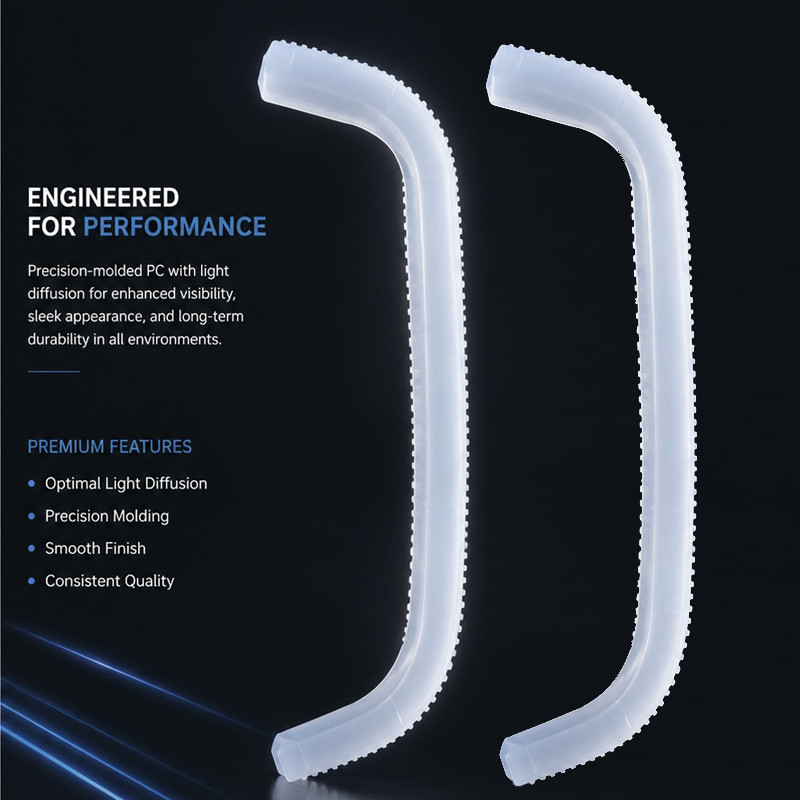
Look at the outer face in the photos and you see a fine rib running along the edge of the part. That rib is not decoration and it is not a stiffener in the usual sense. It is the transition between the light-diffusion wall and the outside world: it breaks up the last of the hot spots, it hides the minor sink that forms opposite the fixing bosses, and it gives the part a defined edge against the deck so the light band ends on a line instead of fading out.
The rib detail up close: the rib pitch has to stay constant around the curve, or the band shows a change of rhythm where the light turns.
The hard part is not the rib itself, it is keeping it constant through the bend. As the section turns, the material on the inside of the curve travels slower than the material on the outside, and a rib pitch that is correct on the straight will either open up or pack tight through the radius. Where the customer’s housing has a visible seam line, that change of rhythm is exactly where the eye goes. The fix is in the tool: rib details cut into separate blocks, polished in the direction of flow, and a gate position that lets the melt arrive at the curve at the same time from both sides rather than racing around one way.
Ribs also need somewhere to breathe. Air trapped in a fine rib at the end of fill burns, and on a white or translucent part a burn mark is not a cosmetic inconvenience — it is a dark speck that is visible from three metres away with the light on. Vents are cut at the rib ends and at the last point of fill, and they are cleaned on a schedule rather than when a bad part turns up.
The Curve, the Fixings and the Fit on the Deck
The grille in the photos is not flat. It follows the curve of the tail light aperture, which means the fixing points are not in one plane, which means the part will fight the housing if the tool does not hold that curve exactly. Two consequences show up on the assembly line:
Spring-back after ejection. A curved PC part that is pushed off the core too hot will relax open by a millimetre or two, and no amount of force at assembly will close it neatly. Parts are cooled on a shaped rest, not tipped into a bin.
Boss height against a seal. If the fixing bosses are a few tenths tall or short, the grille either stands off the gasket and leaks, or presses into it and bows the wall. Both are measured on a fixture, not judged by eye.
Packaging matters more on this part than on a flat cover because the lit face is the part you see. Grilles are separated from each other with a soft liner or a moulded tray so the faces never rub in transit, and they ship in a carton that can be opened at the line without a knife going anywhere near the parts.
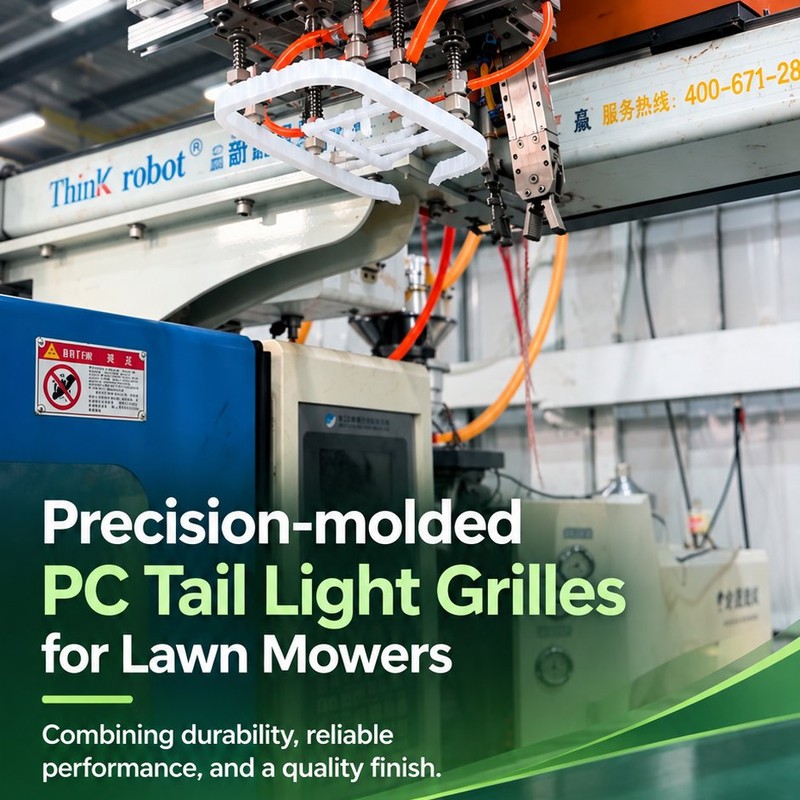
Take-out: the robot holds the grille by the frame, never on the lit face.On the table: grille halves, light guide frame and fixing details from one shot.
The Tool: Cavity, Core, Polish and Venting
PC is hard on a mold. It needs high melt temperature, it is viscous, and it holds internal stress if it is packed hard and cooled fast, so the tool is built around letting the material in gently and getting it out cold. In practice that means:
Cavity and core in pre-hardened or hardened steel, with the optical face finished to the agreed polish before assembly — this is the one surface in the tool that cannot be fixed later.
A gate placed so the melt fills the wall evenly and the weld line lands where the customer does not look, ideally hidden behind the rib or under the fixing flange.
Temperature control close to the surface, because a hot spot on the rib side shows up as a bright patch on the lit side.
Ejection that pushes on structure — ejector pins on the frame and the fixing flange, never on the thin diffusion wall.
Drying is part of the tool discussion as well, even though it happens at the machine. PC absorbs moisture and hydrolyses if it is molded wet: the result is silver streaks that appear exactly in the lit zone, and they cannot be polished out of a finished part. Resin is dried at around 120 °C for four hours and the dryer is checked, not assumed, at the start of every shift.
From the Press to the Carton
Grilles come out hot and slightly soft. They are handled by the frame, laid on a shaped rest to cool flat, and the first parts of every shift go to the light bench before anything is packed. The video below is the actual line: the press, the robot take-out, the grille landing on the conveyor, and the packed cartons at the end.
Molding the grille: the tool cycling, the robot taking the part out by the frame, and the finished grilles packed with liners between them.
What Is Checked Before the Grille Is Packed
Light check — the part is set on a fixture with the specified LED behind it and judged for hot core, banding, dark ends, silver streaks and any flow mark crossing the lit zone. This is the check that decides acceptance, and it is done by eye against a retained sample, not by a lux number alone.
Wall thickness — ultrasonic gauge at agreed points along the curve; the diffusion grade only behaves as designed if the wall is in its band.
Profile — laid on a gauge cut to the drawing, with the gap to the housing measured at three points around the curve.
Fixing points — boss heights and centre distances on a fixture, since these decide whether the part seals.
Appearance — sink opposite the bosses, gate vestige, flash at the parting line, scratches on the lit face, and colour against the retained sample under D65 light.
Fit trial — a first-article assembly on the customer’s housing where the tool allows it, because a grille that passes every measurement can still refuse to seat.
What Can Be Customized
Almost everything on this part is project-specific, and that is the point of building the tool in house rather than buying a standard cover:
Curve and outline — matched to the customer’s housing or deck aperture, taken from a 3D model rather than a photo.
Rib pitch, depth and direction — tuned to the light output the customer wants and to the look of the finished machine.
Material and grade — light-diffusion PC in the diffusion level that suits the LED, with UV stabilization for outdoor use; clear PC or coloured PC where the design calls for a lens instead of a diffuser.
Surface finish — polished, fine EDM or bead-blast, chosen together with the light requirement, then fixed in the tool.
Fixing method — screws, clips, snap details or heat stakes, with the bosses and flanges designed around the housing that exists.
Colour — matched to a chip, a Pantone reference or a physical sample, with the master retained for future orders.
Cavity count and packaging — from a single-cavity tool for a low-volume machine to a multi-cavity tool with a tray pitched for the customer’s assembly robot.
Information to Confirm Before Starting a Grille Project
Most of the cost of a light-diffusion part is decided before the first cut, so a short brief saves a long argument later:
3D model and 2D drawing of the grille, plus the mating housing, so the curve and the fixing points can be checked against something real.
The LED behind it — type, position, power and how many, which set the diffusion level and the heat the part has to live with.
Light requirement — an even band, a bright line, a soft glow, or a target photometric curve. A photo of the reference machine at night is often the most useful thing in the brief.
Sealing requirement — is the grille a gasket-loaded seal, a snap cover, or purely decorative in front of a sealed lamp?
Environment and standard — UV exposure, washing chemicals, stone impact, and any outdoor power equipment or automotive standard the part has to pass.
Colour and surface — a chip or sample plus the finish the customer expects on the lit face.
Annual volume and packaging — which decides cavity count, tray design and whether automation at the customer’s line is worth designing for.
Kunshan Maifeng Precision Industry Co., Ltd. reviews the drawing and the light requirement before quoting, builds the injection mold in house, and molds PC on 36 machines from 40 to 700 tons, including dual-colour presses where the grille and its frame are better molded as one part. Send us the 3D model of the grille with the LED position and the reference photo of the light, and we will come back with a feasibility comment, a tooling proposal and the inspection plan we would run on the first article.
Contact Us
Lucie — Kunshan Maifeng Precision Industry Co., Ltd.
Custom Mold • Precision Injection Molding • Consistent Production. Send us the 3D model of the grille and the light requirement, and we will come back with a tooling proposal.
Company Profile
About Us
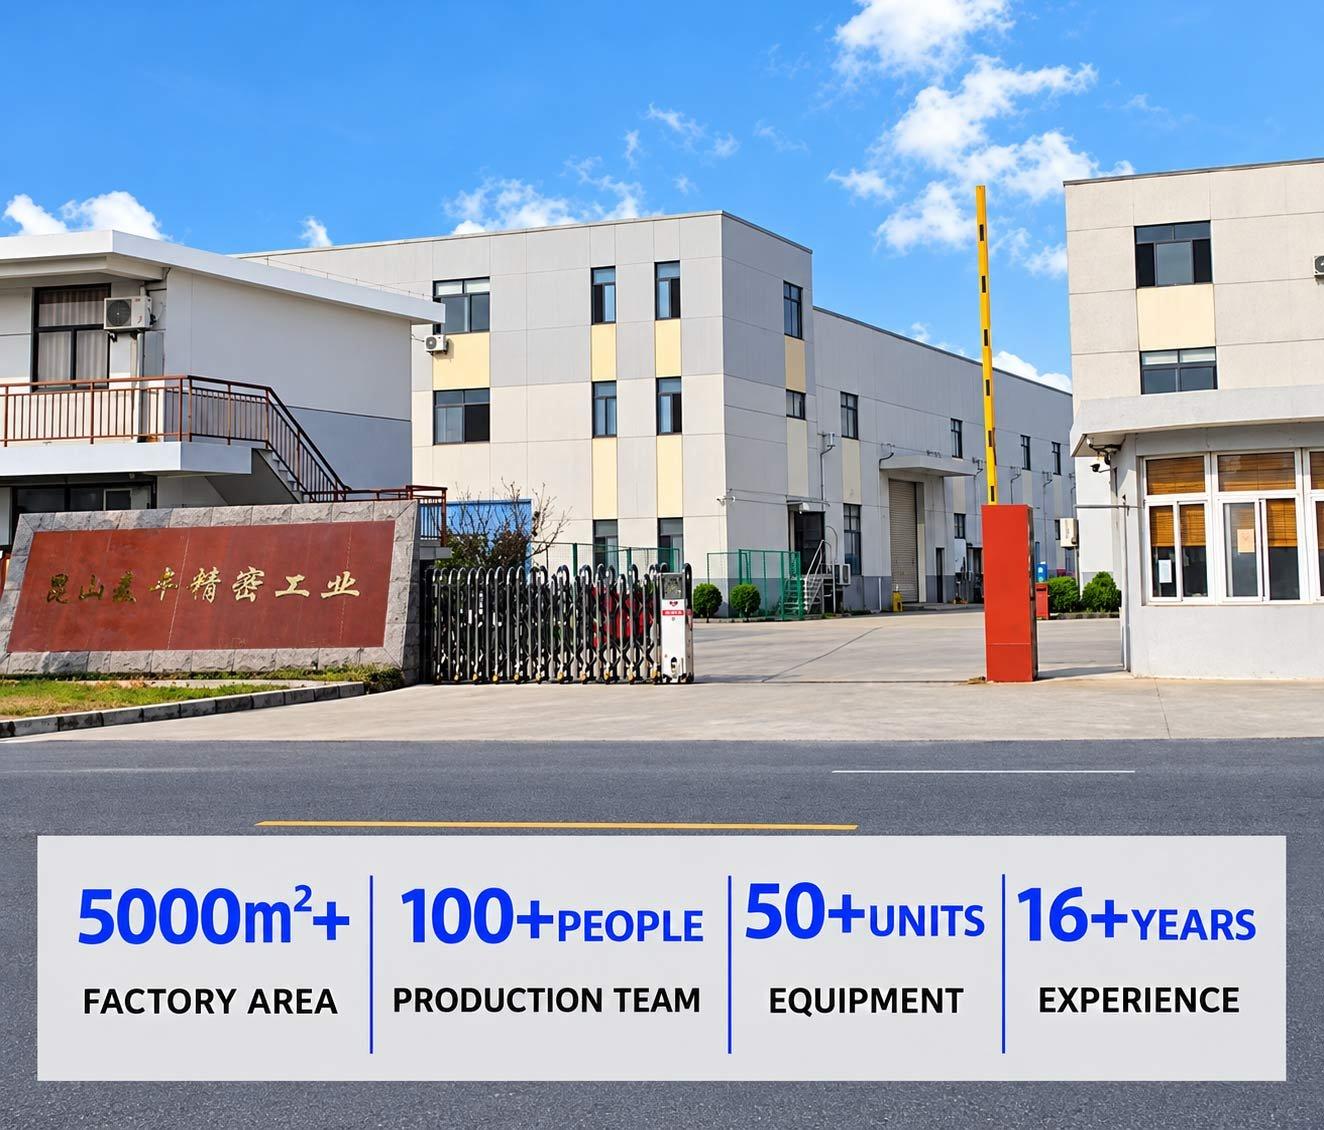
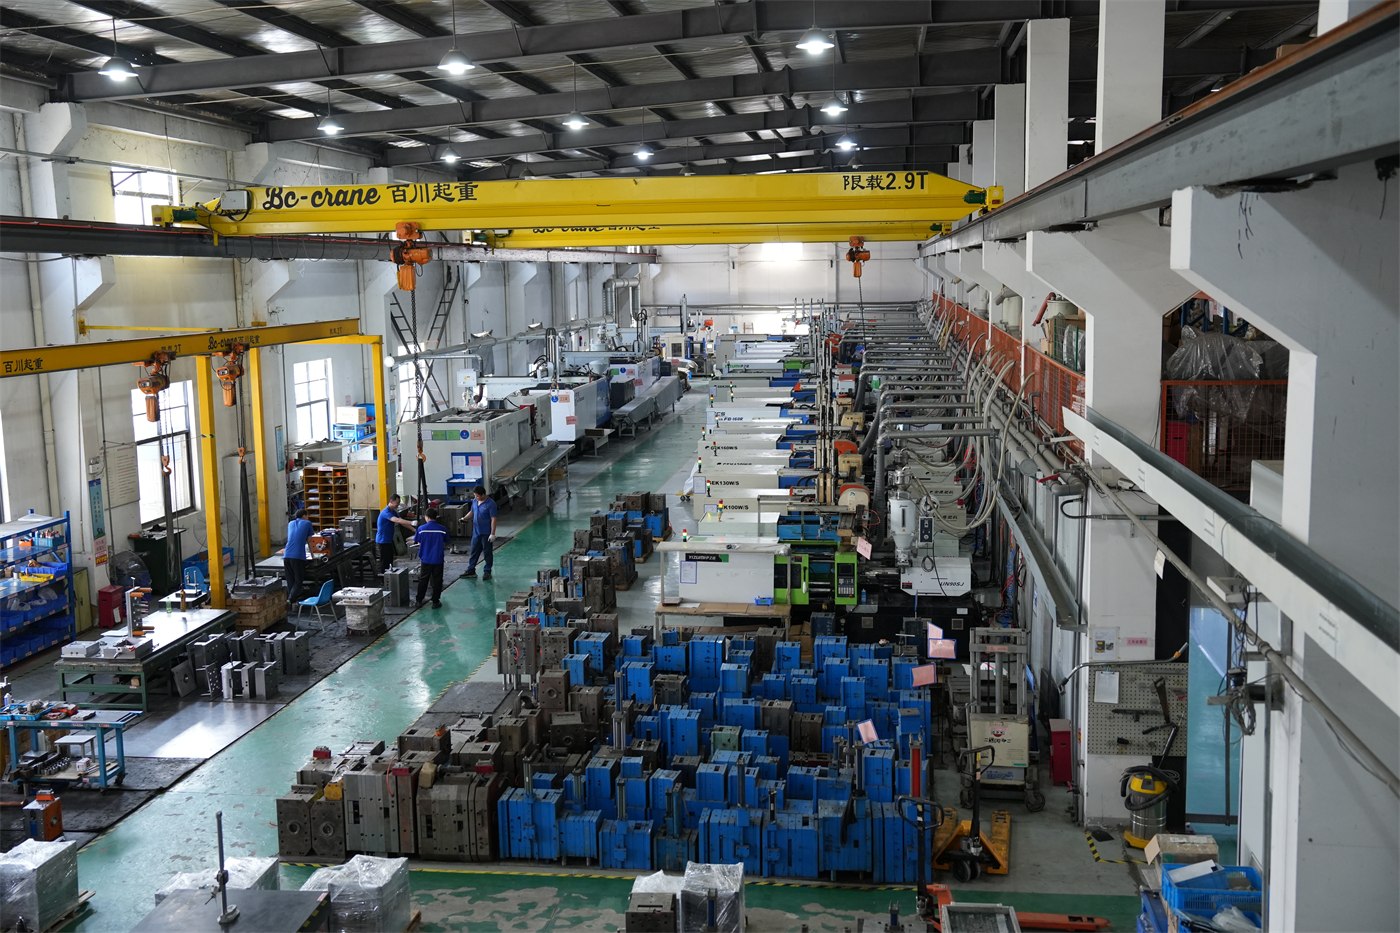
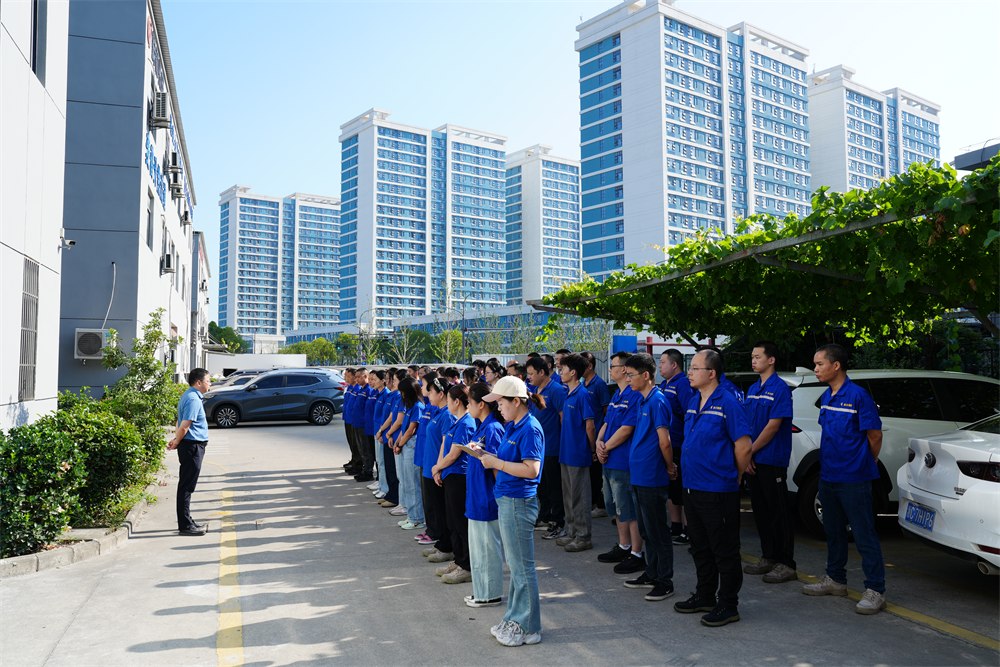
Kunshan Maifeng Precision Industry Co., Ltd. (MIF) has an investment of RMB 35 million and an independent factory of more than 5,000 m². The company operates 36 single- and dual-color injection molding machines from 40 to 700 tons, together with more than 50 sets of mold manufacturing and processing equipment. Our service, management and production team includes over 100 people.
Our parent company was established in 2008. We provide product design, mold design and manufacturing, injection molding and product assembly services for custom plastic parts, supporting both domestic and international customers.
1. Product Design Product structure design and optimization based on customer drawings and samples.
2. Mold Design Mold design developed around product geometry, material and production requirements.
3. Mold Manufacturing Machining, polishing, fitting and assembly for custom injection molds.
4. Injection Molding Single- and dual-color injection molding for project and order requirements.
5. Product Assembly Supporting assembly services for molded plastic components.
Custom glossy black PC protective cover for lawn mowers: an open-ring shell with snap clips molded in one shot and a class-A face that survives stones, sun and cleaning.
Custom clear PC tail light strip for mowers and outdoor equipment: compound curve, uniform wall, polished optical face and colour matched to your chip.
PC+ABS automotive wireless charging housing with an open coil window, four mounting ears and a stiffening rib, molded, inspected and packed for console assembly.
PC lawn mower tail light grille produced through custom mold development, precision injection molding and strict quality control for demanding outdoor applications.
PP handles and plastic parts for a 3rd generation magnetic wall mounted toilet brush, produced at Maifeng Precision through custom mold design, injection molding and careful inspection.
ABS nasal irrigator outer housing produced with custom multi-cavity molds, precision injection molding, careful trimming and dust-free packaging for personal care brands.
ABS nasal irrigator base produced with custom mold design, precision injection molding, strict inspection and dust-free packaging for personal care and medical device assemblies.
No matter what your automotive needs may be, we’re here to help. Contact us today to learn more about our
services and how we can assist you with all of your needs.
ISO 13485-certified medical injection molding in Class 10,000/100,000 cleanrooms: 36 single and dual-color machines, proven medical cases and trusted partners.
One-stop cup and bottle molding: dual-color lids, tea-separation cups and handles, QS food-contact licensed production with proven cases for global brands.
Contact Us
To grow into a top global mold & injection molding supplier
To grow into a top global mold & injection molding supplier, specializing in differentiated custom parts. We focus on structural development, streamlined production and consistent quality supply.







 English
 Chinese